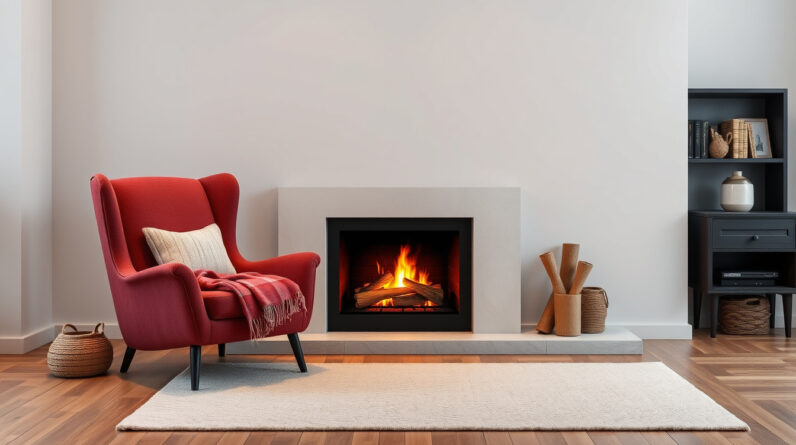
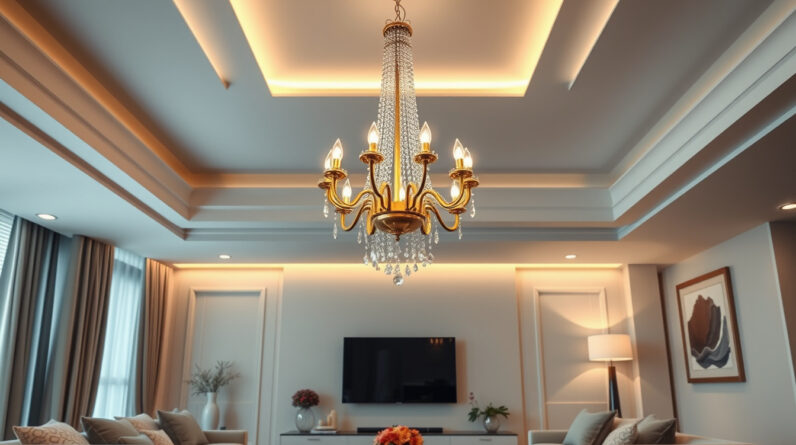
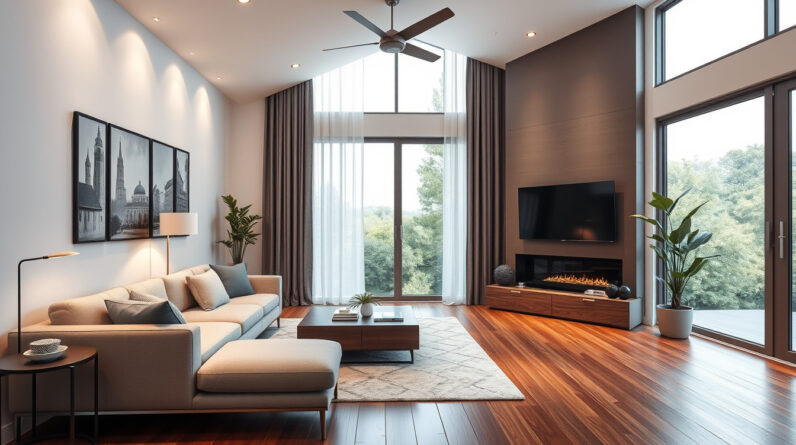
When it comes to revamping your home or office, interior paint plays a pivotal role in shaping the ambiance and aesthetic appeal of a space. Choosing the right interior paint and applying it thoughtfully can turn a dull, uninspiring room into a vibrant haven. Whether you’re a DIY enthusiast or planning to hire professionals, understanding key interior paint tips can make all the difference. In this article, we’ll explore expert advice to help you achieve flawless finishes and create a space that truly reflects your style.
Why Interior Paint Matters
Interior paint does more than just add color; it enhances the atmosphere, brings personality to a room, and even influences your mood. High-quality interior paint can also improve the durability and cleanliness of your walls. From choosing the right type of paint to mastering application techniques, a strategic approach ensures your project’s success.
Key Factors to Consider Before Painting
Before diving into any painting project, it’s essential to lay a solid foundation. Here are some crucial considerations:
- Room Functionality: Determine the purpose of the space—bedroom, kitchen, office—and select appropriate finishes and colors accordingly.
- Lighting Conditions: Natural and artificial lighting affect how paint colors appear; test samples under different lighting to see how they look in your space.
- Existing Surfaces: Check for cracks, holes, or stains, and prepare the surface properly for optimal paint adhesion.
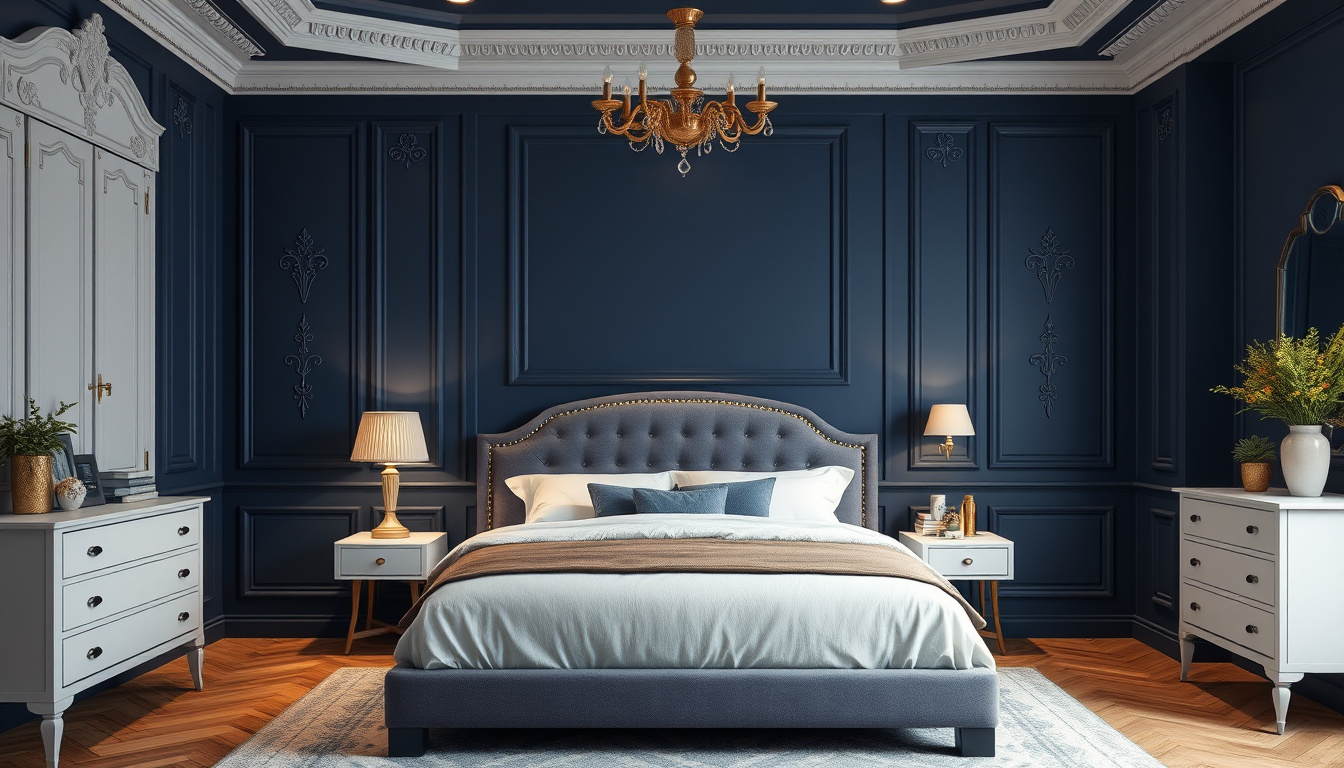
- Color Palette: Decide if you want bold accents, neutral tones, or a monochromatic scheme, and ensure the palette complements your furnishings.
Top Interior Paint Tips for Stunning Finishes
Achieving professional-looking results with interior paint is attainable when you follow these expert tips:
1. Prepare Your Surface Thoroughly
A smooth, clean surface is the foundation of a flawless finish. Start by cleaning walls with a mild detergent to remove dirt and grease. Fill any holes or cracks with spackle, sand the area smoothly, and remove dust before painting. Proper preparation prevents uneven application and peeling over time.
2. Use High-Quality Paint and Tools
Invest in high-quality interior paint, which tends to have better coverage, durability, and finish. Complement this with premium brushes, rollers, and painter’s tape for clean lines and minimizes mess. Using the right tools reduces the need for multiple coats and saves time.
3. Prime for Better Coverage
Priming is crucial, especially when painting over dark colors or uneven surfaces. A good primer ensures better paint adhesion, enhances the color richness, and prevents stains from bleeding through.
4. Select the Right Finish
Interior paints come in various finishes—matte, eggshell, satin, semi-gloss, and gloss—each offering different aesthetics and durability. For example:
- Matte: Great for hiding imperfections; ideal for living rooms and bedrooms.
- Satin & Eggshell: Easy to clean; suitable for kitchens and bathrooms.
- Semi-gloss & Gloss: Durable and moisture-resistant; perfect for trim, doors, and cabinetry.
Choose a finish that balances look and function for each room.
5. Test Colors Before Committing
Sample patches of paint on different walls to observe how the colors look in various lighting conditions. This step helps avoid costly mistakes and ensures you’re satisfied with the final look.
6. Use a Proper Painting Technique
- Start with edges using a brush for the corners, trims, and around outlets.
- Use a roller for large wall surfaces, applying paint in overlapping strokes.
- Maintain a “wet edge” to prevent marks and streaks.
- Apply multiple thin coats rather than a single thick coat for even coverage and better durability.
7. Allow Adequate Drying Time
Follow the manufacturer’s instructions for drying times between coats. Adequate curing prevents smudging and ensures longevity of the finish.
8. Add Finishing Touches for a Professional Look
Once the paint dries, carefully remove painter’s tape, clean up edges, and touch up any imperfections. Consider applying a clear topcoat for extra protection in high-traffic areas.
Additional Interior Paint Tips
- Use proper lighting when painting to catch all imperfections and ensure accurate color perception.
- Ventilate the space well during and after painting to speed up drying and improve air quality.
- Maintain your tools by cleaning brushes and rollers immediately after use to keep them in good condition for future projects.
- Consider eco-friendly paints with low or zero VOCs for a healthier indoor environment.
Frequently Asked Questions (FAQs)
Q1: What is the best interior paint for walls that are prone to moisture?
A1: Semi-gloss or satin finishes are ideal for moisture-prone areas like kitchens and bathrooms because they are more resistant to humidity and easier to clean.
Q2: How many coats of interior paint are typically needed?
A2: Usually, two coats of paint are enough for vibrant, even coverage. However, darker or dramatic color changes may require an extra coat for optimal results.
Q3: Can I paint over a wallpapered wall with interior paint?
A3: Yes, but it’s best to thoroughly prep the surface by cleaning, smoothing out any seams, and applying a primer designed for wallpapered surfaces to ensure adhesion and a smooth finish.
Citing Authority in the Industry
For in-depth guidance on choosing the right paint and techniques, consult reputable sources like Sherwin-Williams’ expert advice, which offers comprehensive interior paint tips and product information (source).
Conclusion: Transform Your Space Today
Your interior paint color and finish have the power to redefine your entire space. By applying these interior paint tips—meticulous surface prep, selecting quality products, testing samples, and mastering application techniques—you can achieve stunning, long-lasting results that elevate your environment. Don’t settle for dull walls when a fresh coat of paint can make a dramatic difference. Ready to breathe new life into your home or office? Start planning your project today, and enjoy the beautiful, personalized space you deserve.


